How to Remove Silicone Caulking Safely and Effectively
Removing silicone caulk can be a meticulous task, but it is a necessary one for maintaining the integrity and appearance of your home. Whether you are dealing with sealant around a bathtub, window, or sink, knowing how to remove silicone effectively is an essential skill for any homeowner undertaking home repairs or renovations. This task requires precision to avoid damage to the underlying surfaces, making it crucial for you to understand the best practices and tools needed for safe and effective removal.
In this article, we will explore why there is often a need to remove old caulk, how to remove silicone sealant from various surfaces without causing damage and provide a detailed step-by-step guide on how to remove silicone caulk. You will learn about the essential tools and materials needed for the job, including the utility of a caulk removal tool, and tips on how to clean off silicone residue for a polished finish. Following our comprehensive guide will empower you with the knowledge to tackle silicone sealant removal confidently and achieve professional-quality results.
Why the Need for Silicone Caulk Removal
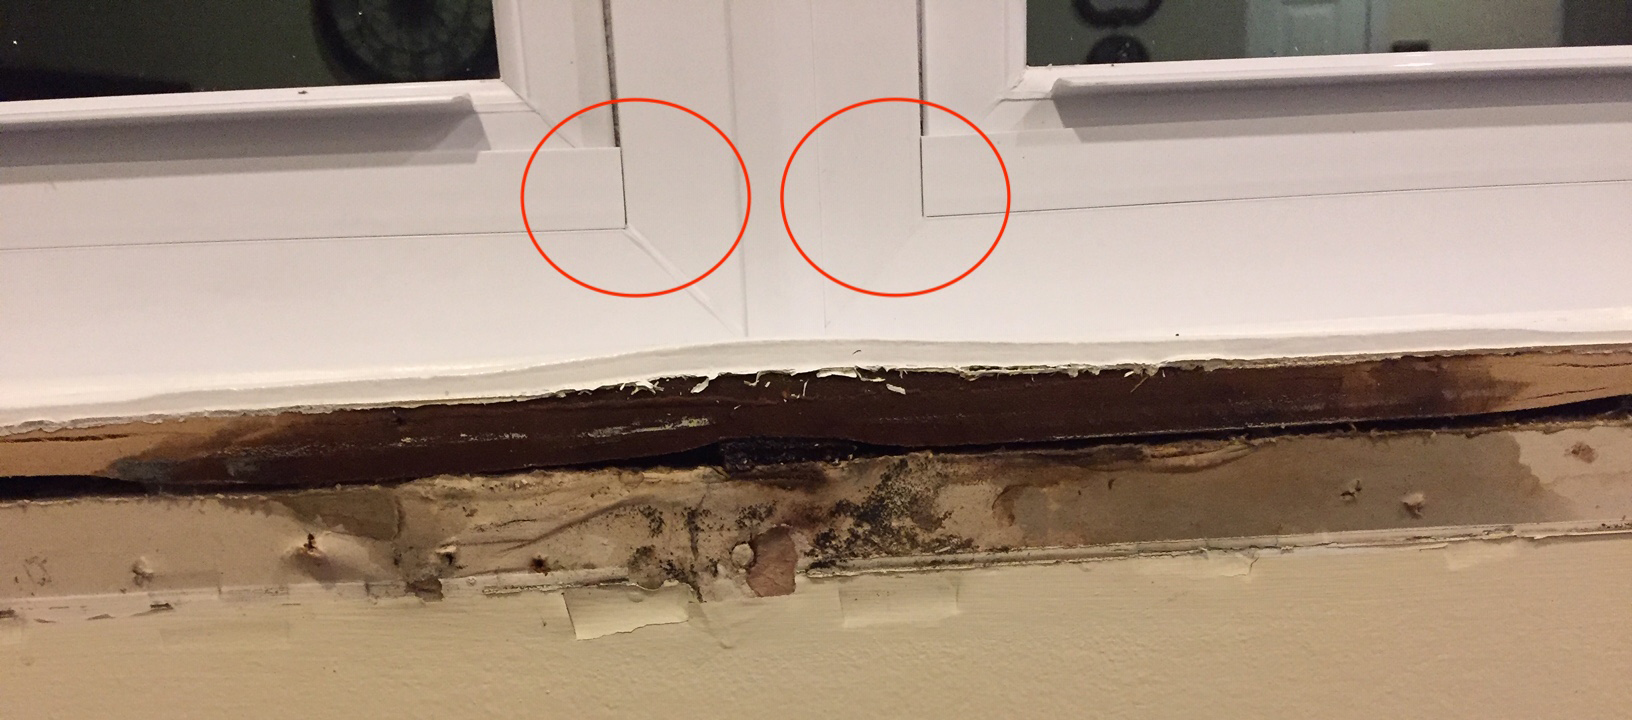
Removing silicone caulk is often necessary to maintain the structural integrity and appearance of your home. Over time, caulk can deteriorate, leading to several issues that require attention:
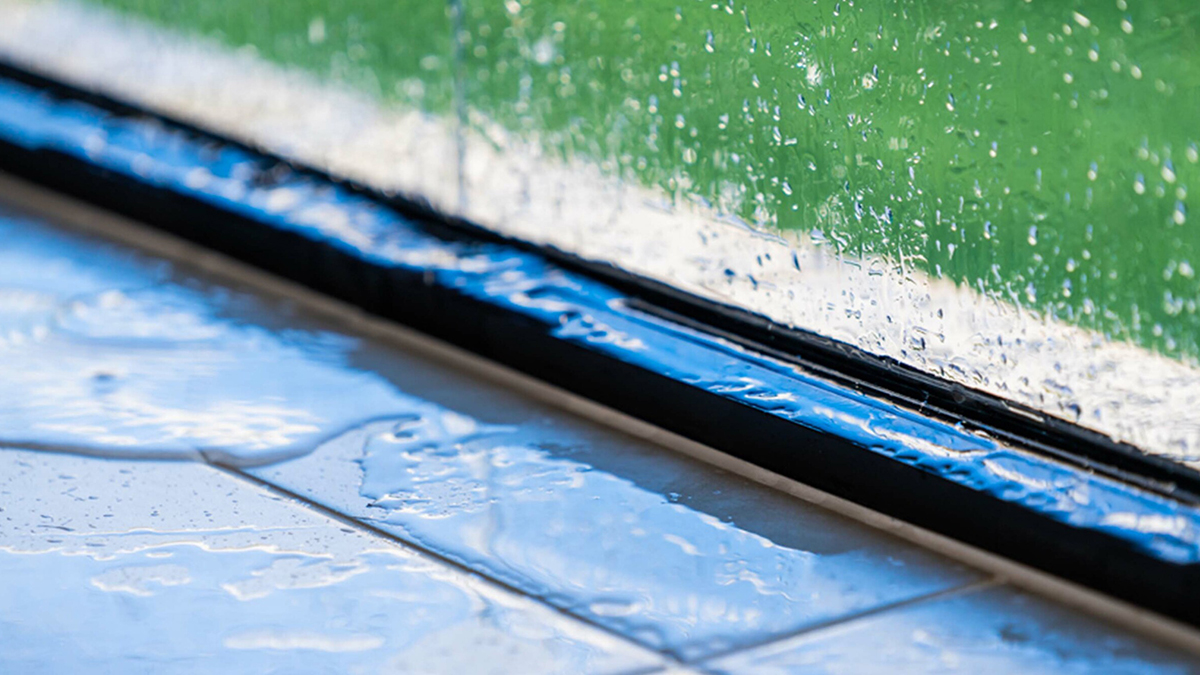
- Prevention of Water Damage: Silicone caulk’s primary function is to seal gaps against water infiltration. When caulk fails, it can lead to water damage, promoting mould and mildew growth, which can compromise the structure of wood and damage insulation.
- Energy Efficiency: Aged or damaged caulk can lead to drafts and air leaks, reducing a building’s energy efficiency. By removing old caulk and replacing it, you help maintain optimal energy consumption, lowering utility bills.
- Health and Safety: Old or failing caulk can allow the entry of pollutants and pests, which pose health risks and can lead to structural damage. Removing compromised caulk helps maintain a healthier indoor environment.
- Aesthetic Maintenance: Discoloured or peeling caulk can detract from your property’s appearance. Regular maintenance, including caulk removal, ensures a clean and appealing look.
- Adherence Issues: Silicone caulk may not bond well with certain surfaces over time or when incorrectly applied, necessitating its removal to ensure effective reapplication and sealing.
Addressing these issues by removing old silicone caulk not only protects your property but also enhances its functionality and aesthetic value.

How to Remove Silicone Caulk from Various Surfaces
Bathtubs
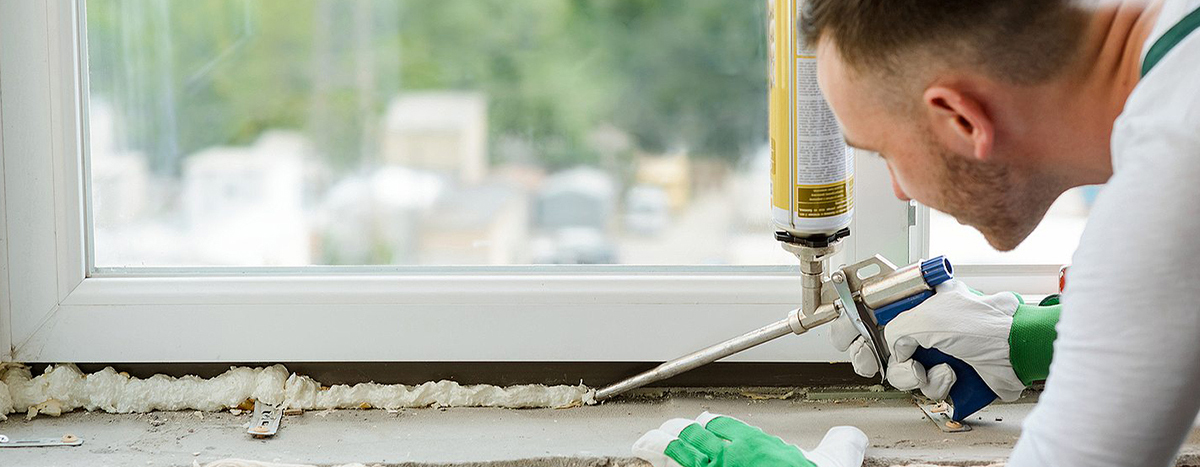
To remove silicone caulk from bathtubs, start by softening the caulk using a hairdryer on a low setting or a heat gun. Carefully apply the heat to the caulk, moving back and forth to evenly distribute the warmth. Once softened, use a sharp putty knife or a razor blade to gently scrape the caulk away, aiming to remove it in continuous strips. For any remaining residue, a straight razor can be effective, especially if the surface is still warm. Exercise caution to avoid scratching the bathtub surface.
Sinks & Showers
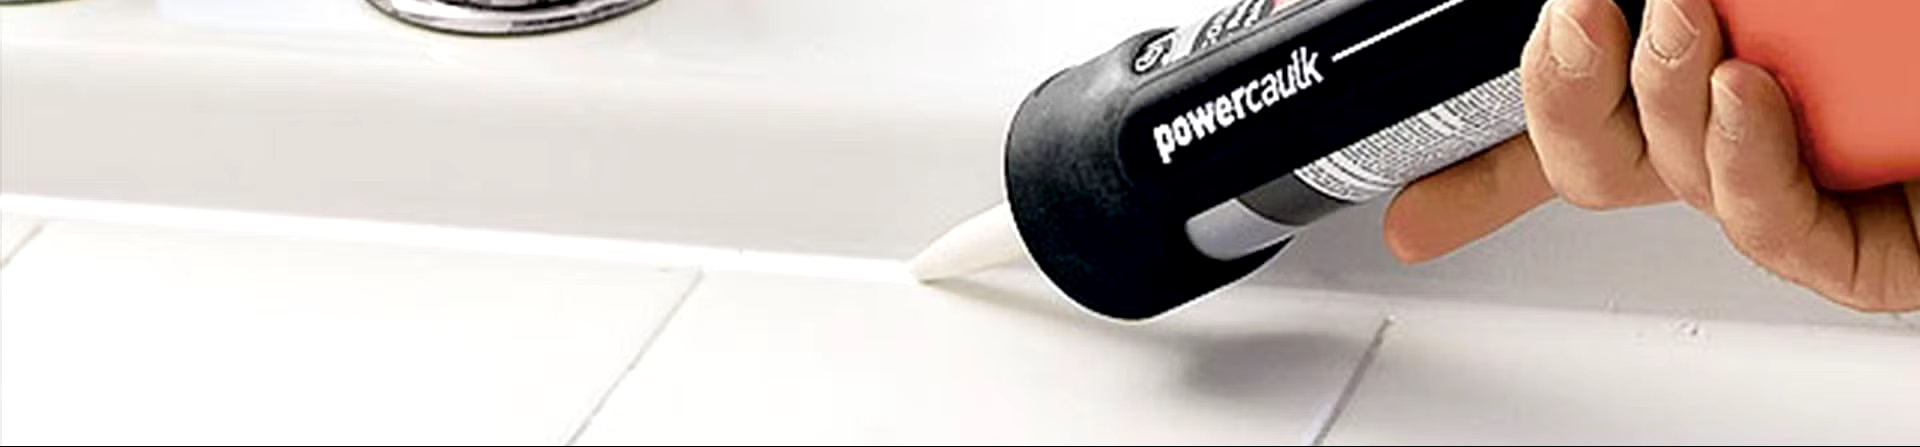
In sinks and showers, begin by cutting through the old caulk with a sharp knife around the edges of the silicone. Use a plastic scraper or a flat chisel to peel away the bulk of the silicone. After most of the caulk is removed, clean up any leftover residue with methylated spirits applied with a sponge. This helps ensure that all bits of silicone are removed, leaving a clean surface for reapplication.
Toilets
For silicone removal around toilets, a combination of mechanical and chemical methods is effective. Start with a plastic paint scraper to lift off as much silicone as possible. If residues persist, apply a silicone remover like Goo Gone or a mixture of vinegar and water. Allow the solution to sit and soften the silicone before scraping again. For stubborn areas, a razor blade can be used, but ensure it is flat against the surface to avoid damage.
Step-by-Step Guide on How to Remove Silicone Caulk
Step One: Softening the Caulk
Begin by applying a silicone softening agent such as vinegar, alcohol, or a commercial caulk remover to the silicone caulk. These substances help in loosening the caulk’s grip on the surface. For tougher jobs, consider using a heat gun or a hair dryer to apply heat directly to the caulk for 30-40 seconds, which further softens it. Ensure that the area is well-ventilated and that you handle any chemical agents with care.
Step Two: Removing the Caulk
Once the caulk has softened, use a sharp blade or a putty knife to carefully scrape it away. Start at one end and gently push the tool under the edge of the silicone, peeling it back slowly. If the caulk does not come off easily, reapply the softening agent or heat for better results. Be cautious not to damage the underlying surface during removal.
Step Three: Cleaning the Surface
After removing the bulk of the silicone caulk, there will be some residue left. Use a cleaning solution or soap and water to clean the area thoroughly. For stubborn residue, a cloth soaked in mineral spirits or isopropyl alcohol can be effective. Ensure the surface is completely dry and free of any debris or residue before applying new silicone caulk.

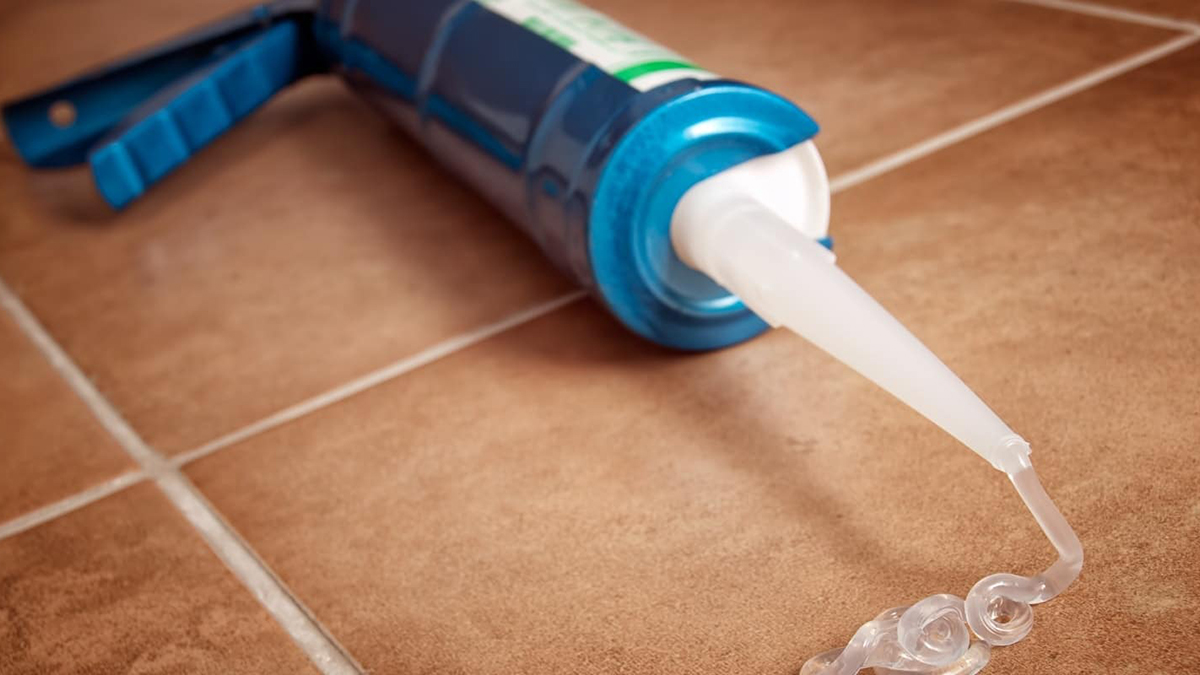
Tools and Materials Needed
For the successful removal of silicone caulk, you will need specific tools and materials that ensure a clean and efficient job. Here is a list of essential items:
Commercial Caulk Remover
A commercial caulk remover is crucial for softening the silicone, making it easier to scrape away without damaging the surface. Products like the Crown Tough Strip Ultimate Remover are highly effective, allowing the caulk to be removed with minimal scraping after just two hours of application.
Utility Knife
A sharp utility knife is necessary for cutting through the edges of the silicone caulk. This tool allows you to precisely slice along the caulk line, facilitating easier removal by creating initial loosening cuts.
Putty Knife
Employ a putty knife to peel away the softened caulk. This tool is ideal for pushing under the edge of the silicone and lifting it off in larger chunks. Holding the knife at an angle will help avoid scratching or damaging the underlying surface.
Needle nose Pliers.
For tougher caulk removal jobs, especially those involving multiple layers, needle nose pliers can be amazingly effective. These pliers allow you to grip and pull sections of hardened caulk, providing additional leverage and reducing the risk of surface damage.
Ensure you have these tools on hand before beginning the caulk removal process to achieve the best results.
Conclusion
Throughout this comprehensive guide, we have dissected the intricacies of removing silicone caulking, a task pivotal for upkeeping your home’s structural integrity, energy efficiency, and overall aesthetic. By delving into the necessity for caulk removal, the article has equipped homeowners with vital information and step-by-step methodologies, emphasizing the importance of the right tools and materials. Following these guidelines not only safeguards your property from potential damage but also ensures a clean and polished finish, highlighting the do-it-yourself approach’s effectiveness in managing and maintaining your living spaces.
Embracing the detailed strategies and precautions outlined will undoubtedly empower homeowners to tackle the challenge of silicone sealant removal with confidence. Furthermore, the implications of this task extend beyond mere cosmetic upgrades, contributing significantly to your home’s longevity and liveability. It is a testament to the value of investing time and effort into regular home maintenance. As we conclude, let this guide serve as a resourceful companion for all your future caulking removal endeavours, ensuring that the beauty and integrity of your home are preserved for years to come.
FAQs
- How to Remove Silicone Caulk without causing damage?
For a damage-free removal of silicone, applying heat is an effective method. Use a heat gun or a hair dryer to warm the silicone sealant for 30 seconds to 2 minutes. Once the silicone has softened, you can proceed to gently peel or scrape it off. - What are the most effective solvents for removing silicone caulk?
Common household items like vinegar, alcohol, and WD-40 are effective for removing silicone caulk. For tougher jobs, industrial-grade isopropyl alcohol may be necessary, and it is advisable to consult a professional. Apply your chosen solvent liberally to the silicone to ensure it softens adequately. - Can WD-40 be used to remove silicone sealant?
Yes, WD-40 is useful for removing silicone sealant from surfaces like glass or metal. Spray the troublesome areas with WD-40 and allow it to sit for 5-7 minutes. This will help break down the silicone, making it easier to scrape off. - Which chemicals can dissolve silicone?
Chemicals such as gasoline, mineral spirits (paint thinner), kerosene, and alcohol can soften silicone. For complete removal from surfaces like glass, products like DAP Silicone Begone may be required. Apply it using 0000 steel wool, wait for thirty minutes, and then clean the residue with soap and water.
Contact General Seal Today to find out more on The Role of Caulking in Energy Efficiency